

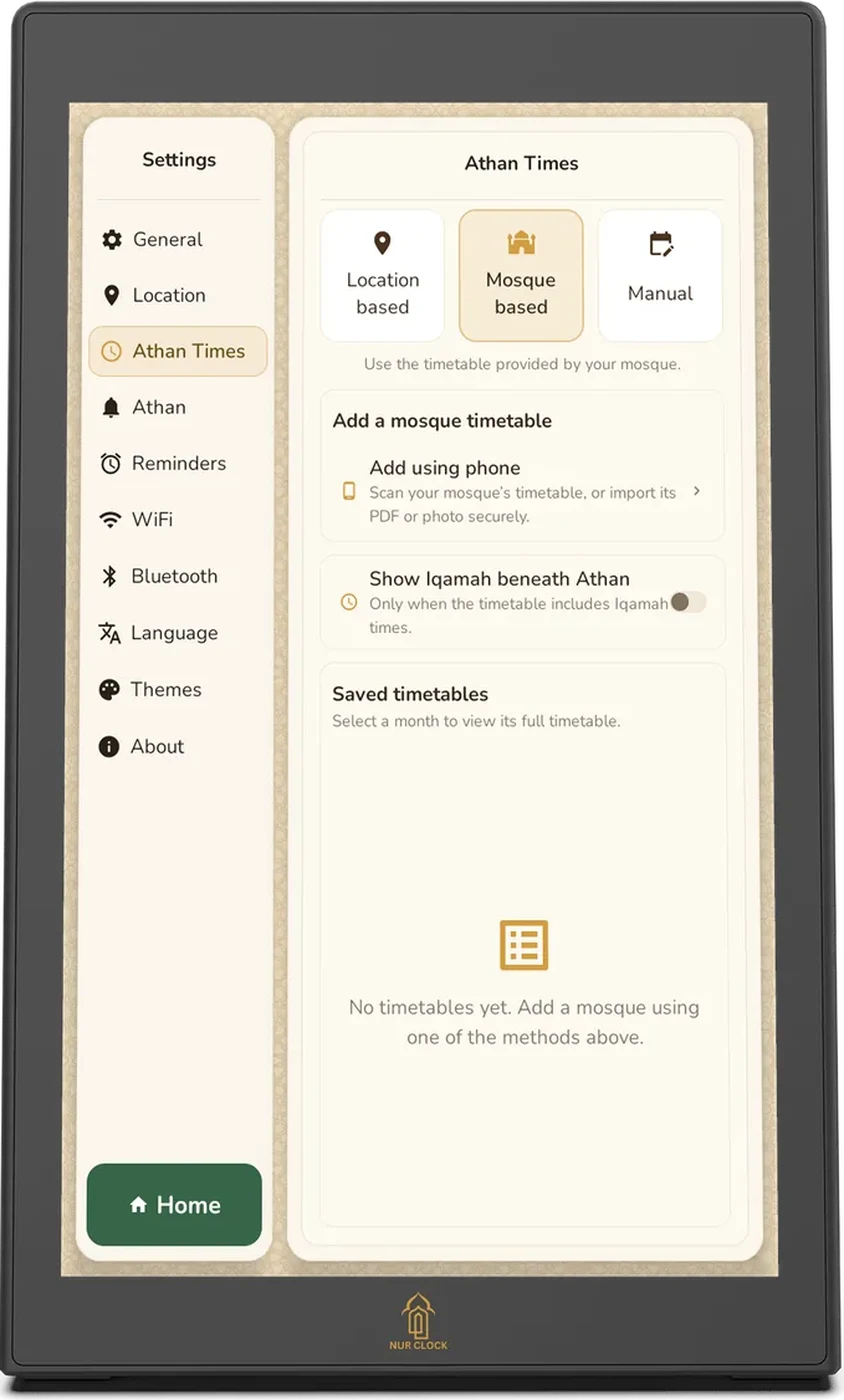
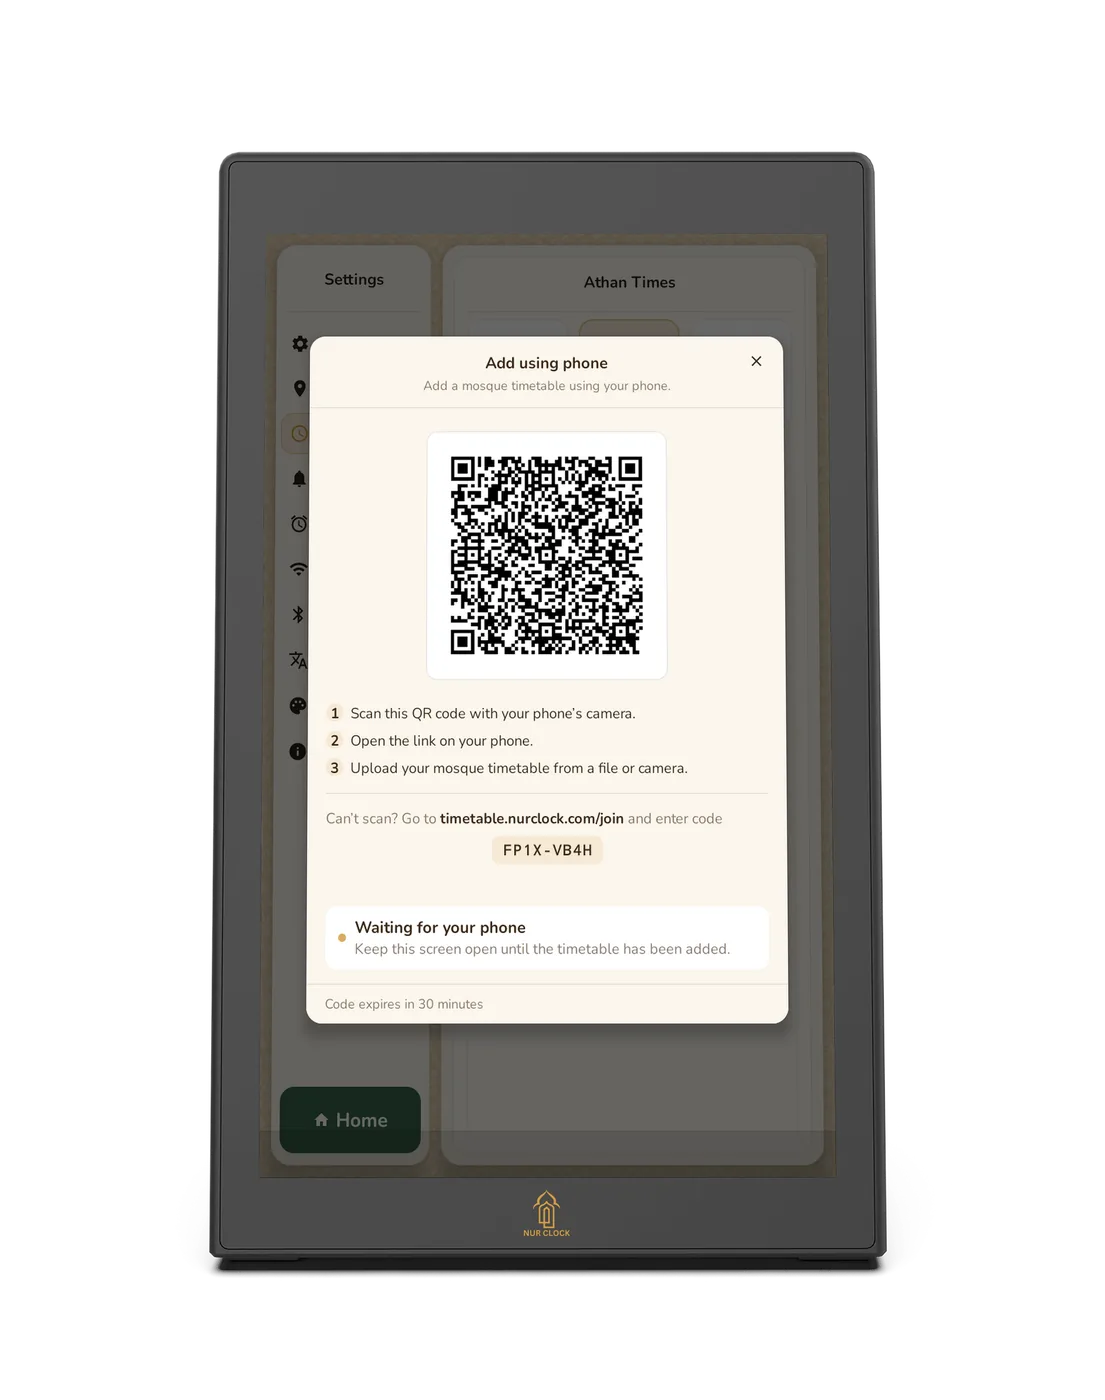
On the clock, open Settings → Athan Times, choose Mosque based, then tap Add using phone. A QR code appears.


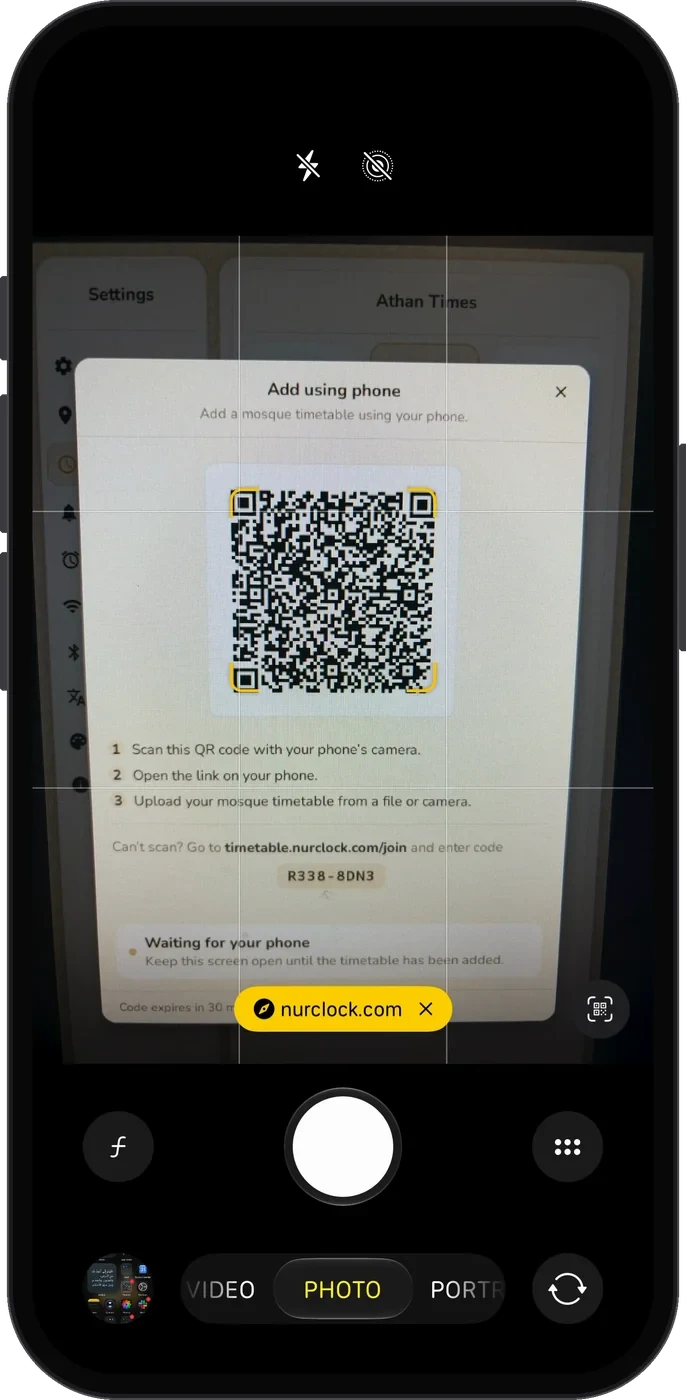
On your phone, open the camera and point it at the QR code on the clock, then tap the link that appears. Can’t scan? Go to timetable.nurclock.com/join and enter the code shown under the QR code.

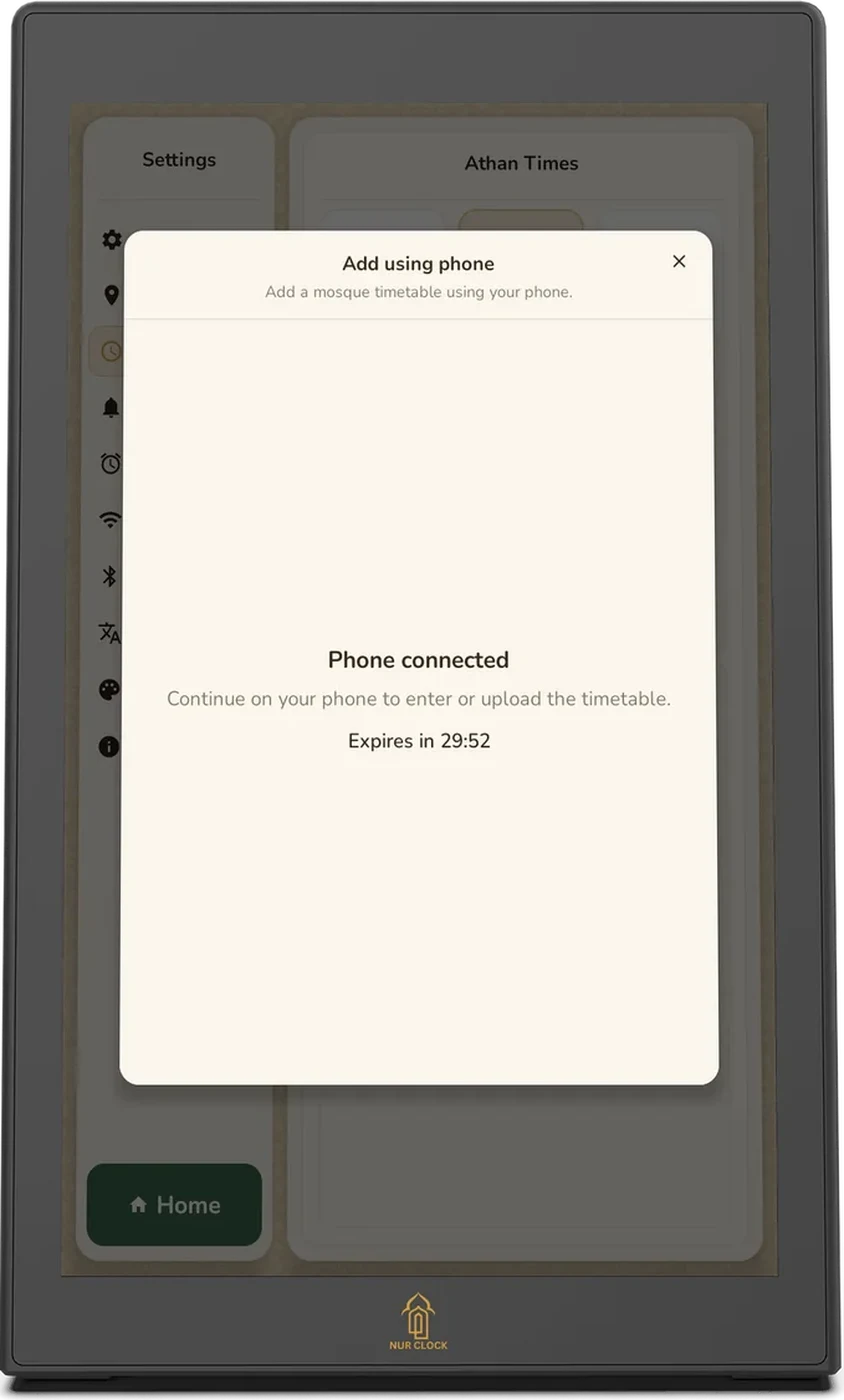
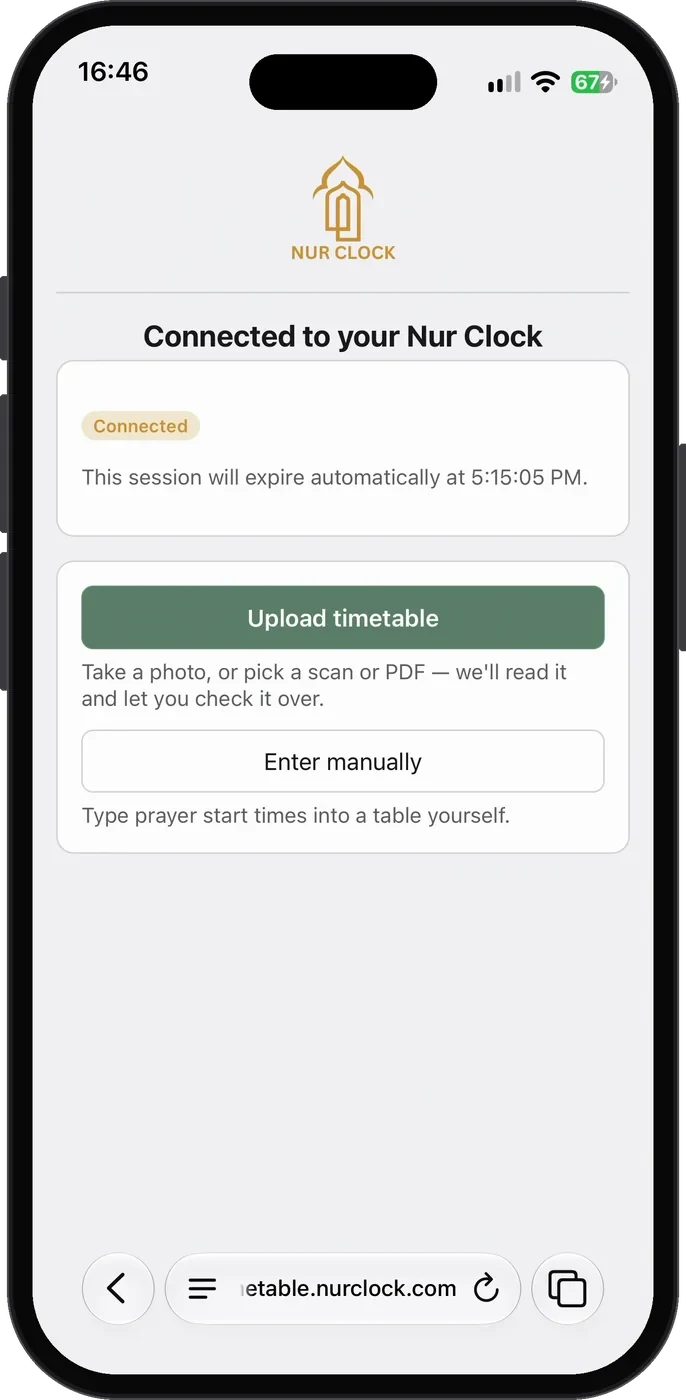
Your phone shows Connected to your Nur Clock, and the clock shows Phone connected. You have 30 minutes to finish.
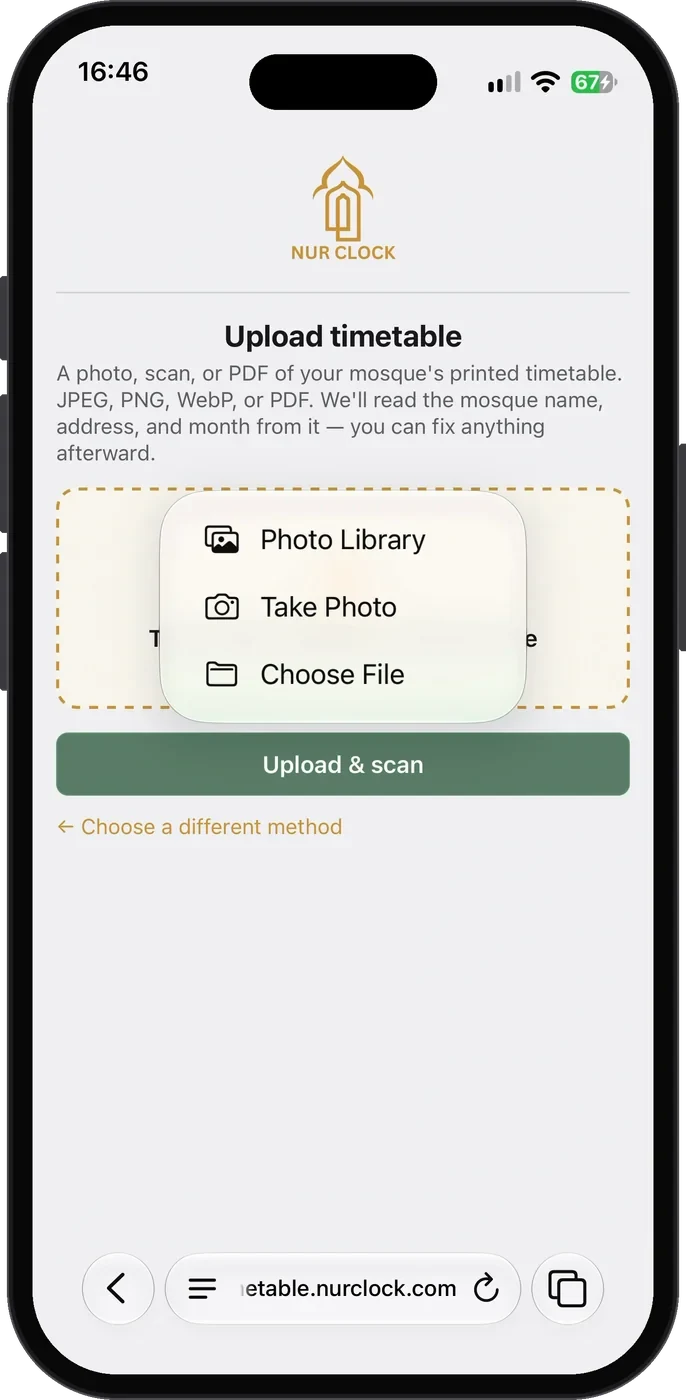
On your phone, tap Upload timetable, then Take Photo, Photo Library or Choose File. A photo, scan or PDF of the printed timetable all work. Prefer to type? Tap Enter manually.
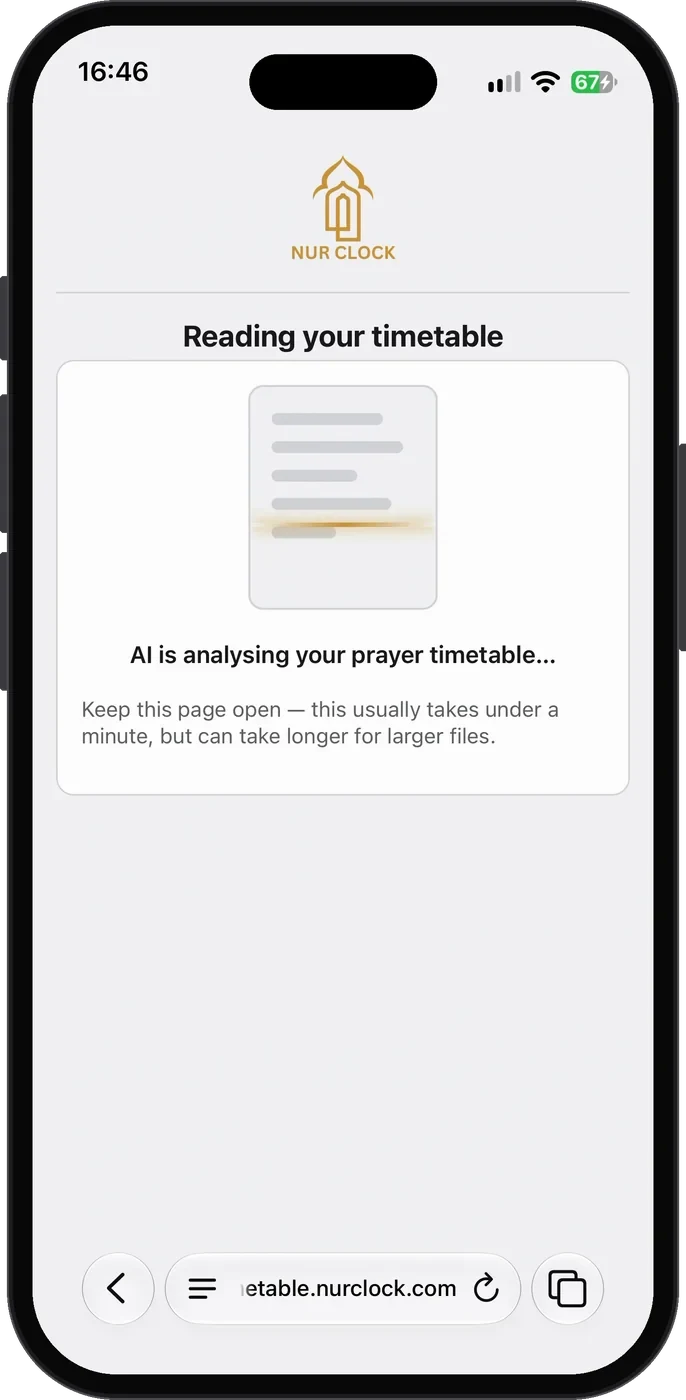
Nur Clock reads the timetable for you. This usually takes under a minute.
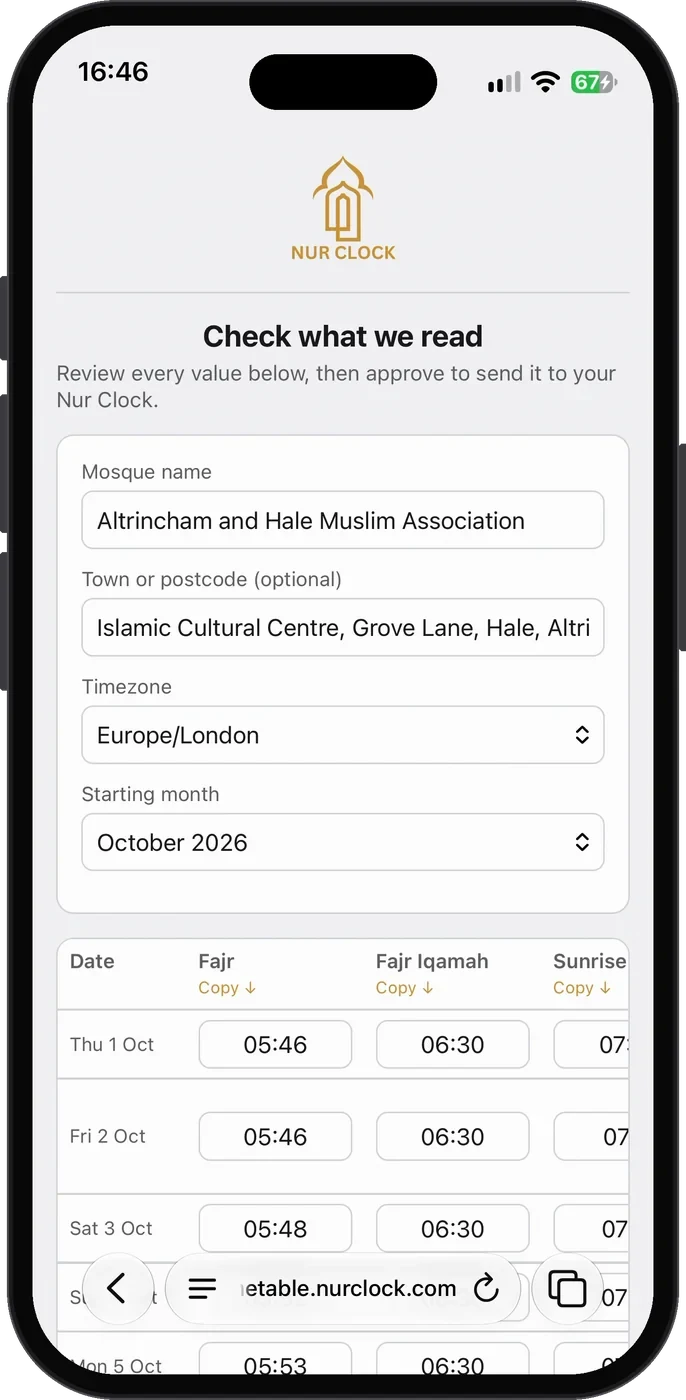
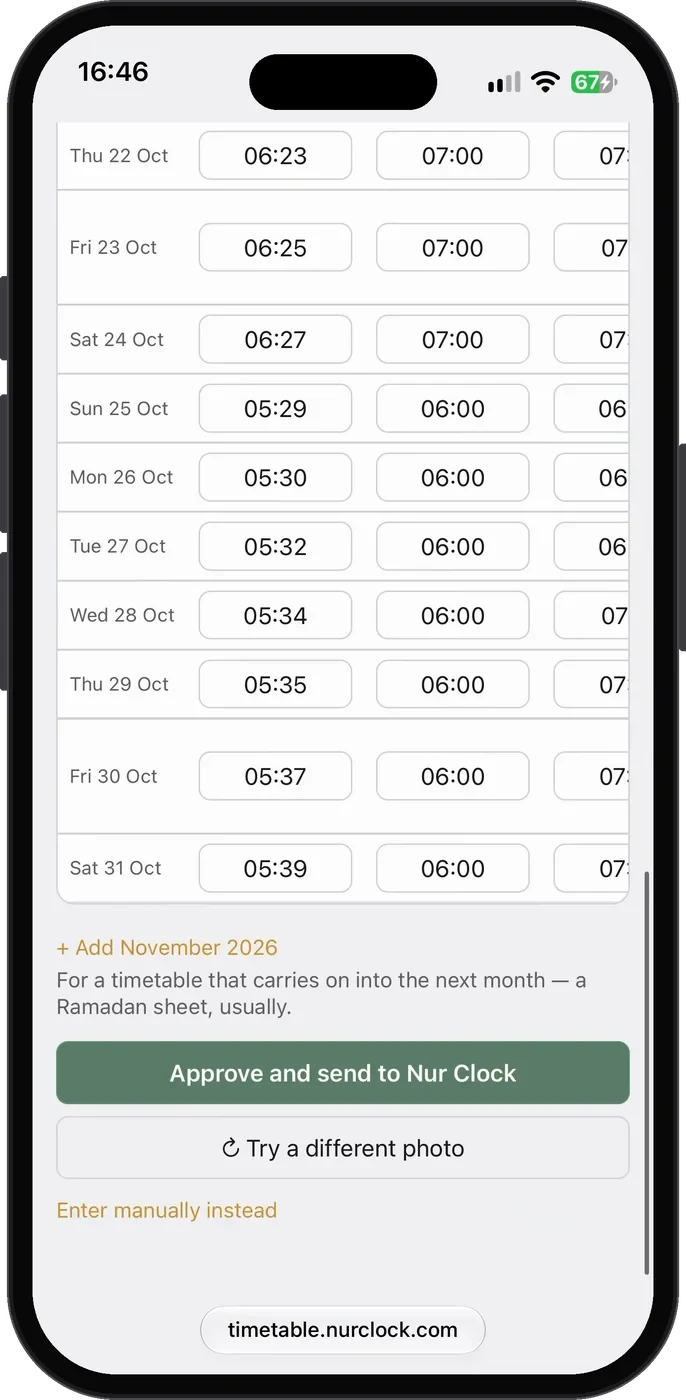
Check what we read: the mosque name, timezone, starting month and every time, including Iqamah. Fix anything that’s wrong. For a Ramadan sheet that runs into the next month, tap Add next month.
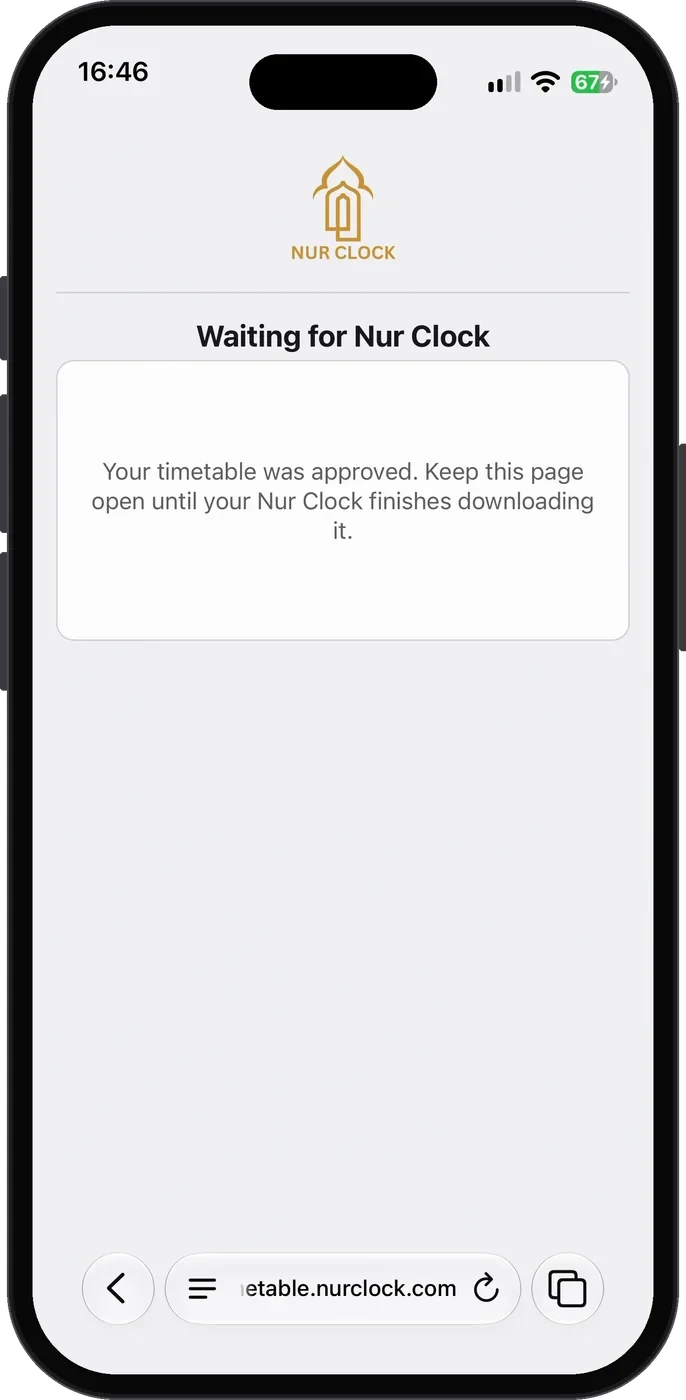
Tap Approve and send to Nur Clock. Keep the page open on your phone until the clock has it.
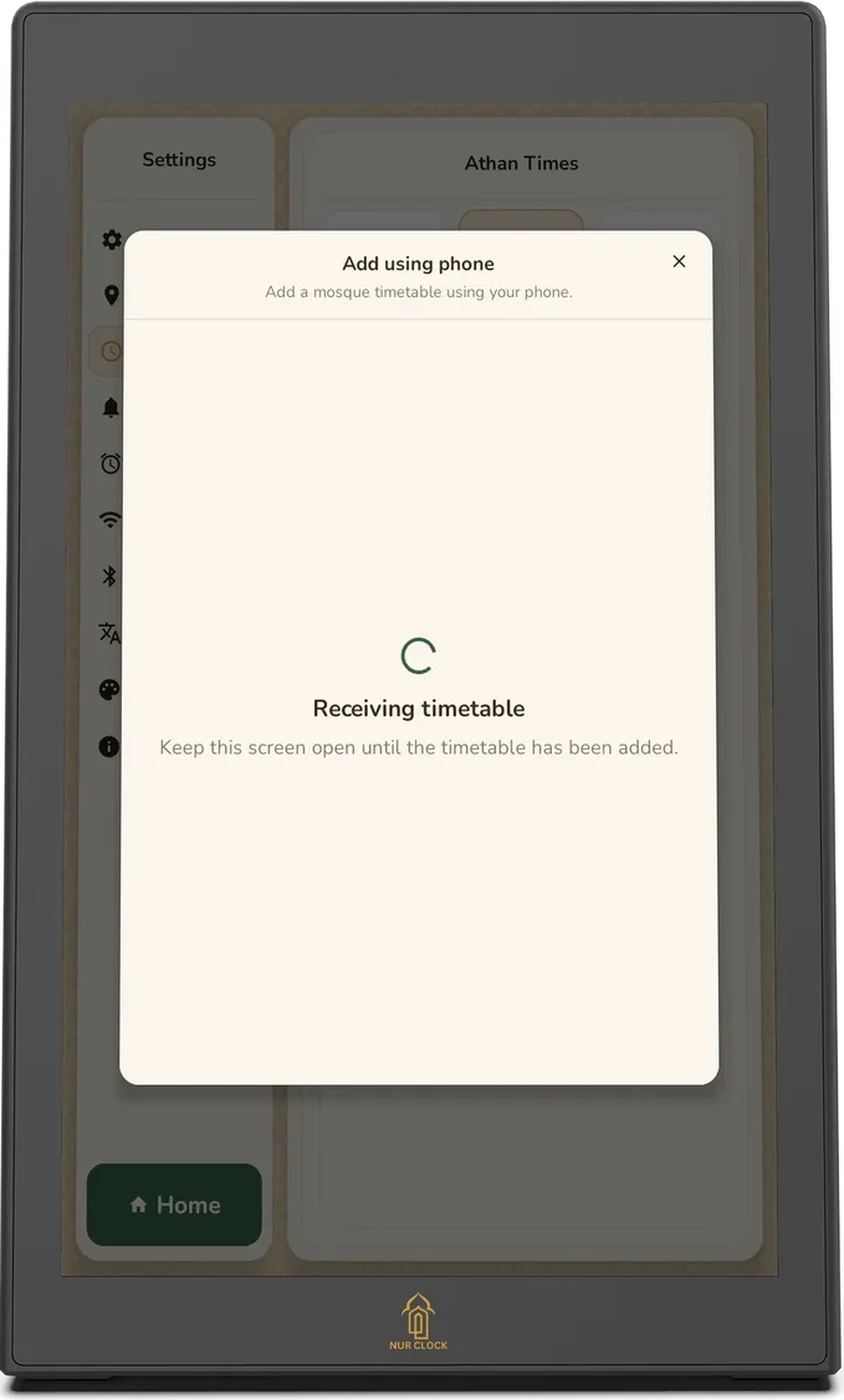
The clock shows Receiving timetable. Keep its screen open too.
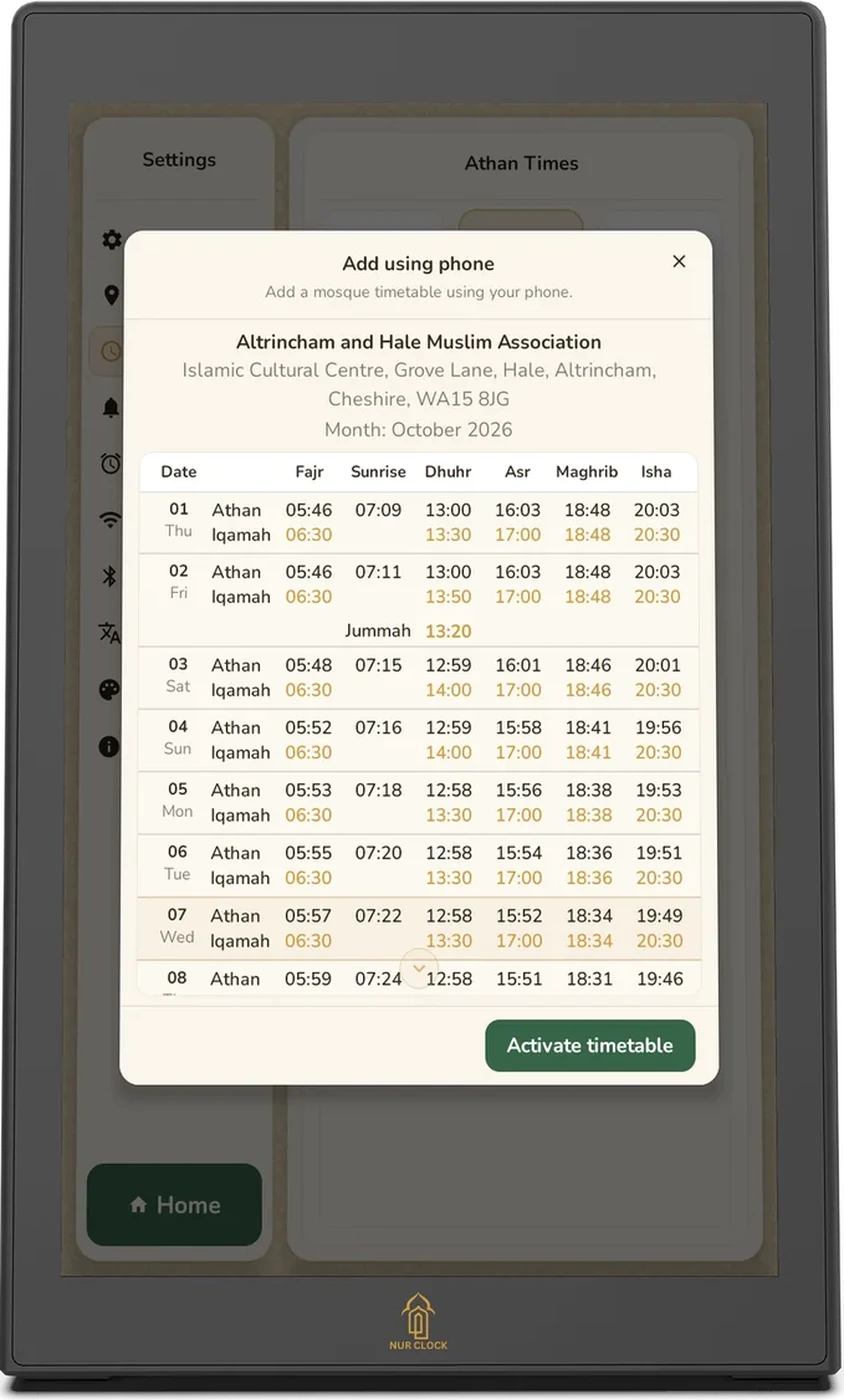
Check the timetable on the clock, including Jummah, then tap Activate timetable.
You’ll see Timetable received: these are now your prayer times. Turn on Show Iqamah beneath Athan, and find the timetable under Saved timetables.
Prayer times
Adding your mosque’s timetable from your phone
Use your mosque’s own monthly timetable, and see the Iqamah time under each Athan on your clock. You’ll need Wi-Fi on the clock and your phone.
Nur Clock, 2nd generationSettings → Athan Times → Mosque based
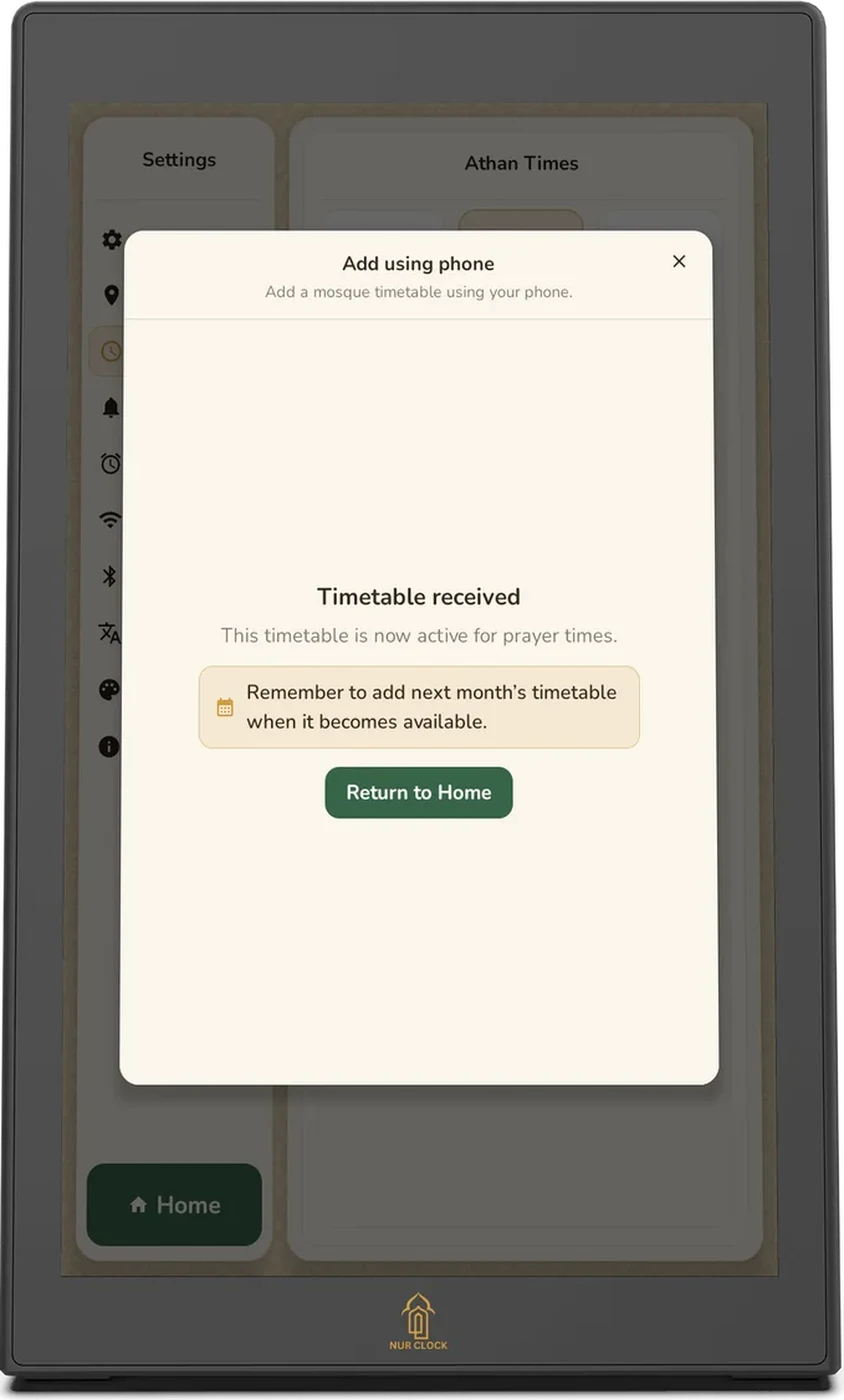
Timetables are added a month at a time. Nur Clock reminds you to add next month’s when it’s available. If the 30 minutes run out, tap Add using phone again for a new QR code.
Was this helpful?
Thank you for letting us know.
Sorry about that. Tell us what you were looking for and we’ll help.
Related articles
Still need help?
Email support@nurclock.com and the team that makes Nur Clock will reply.